Rubber Roof Installers Lynn
Top 10 Rubber Roofing Contractor in Lynn
Get 3 FREE EPDM Roofing Contractor quotes for your project today! Compare profiles, reviews, accreditations, portfolio, etc... and choose the best service.
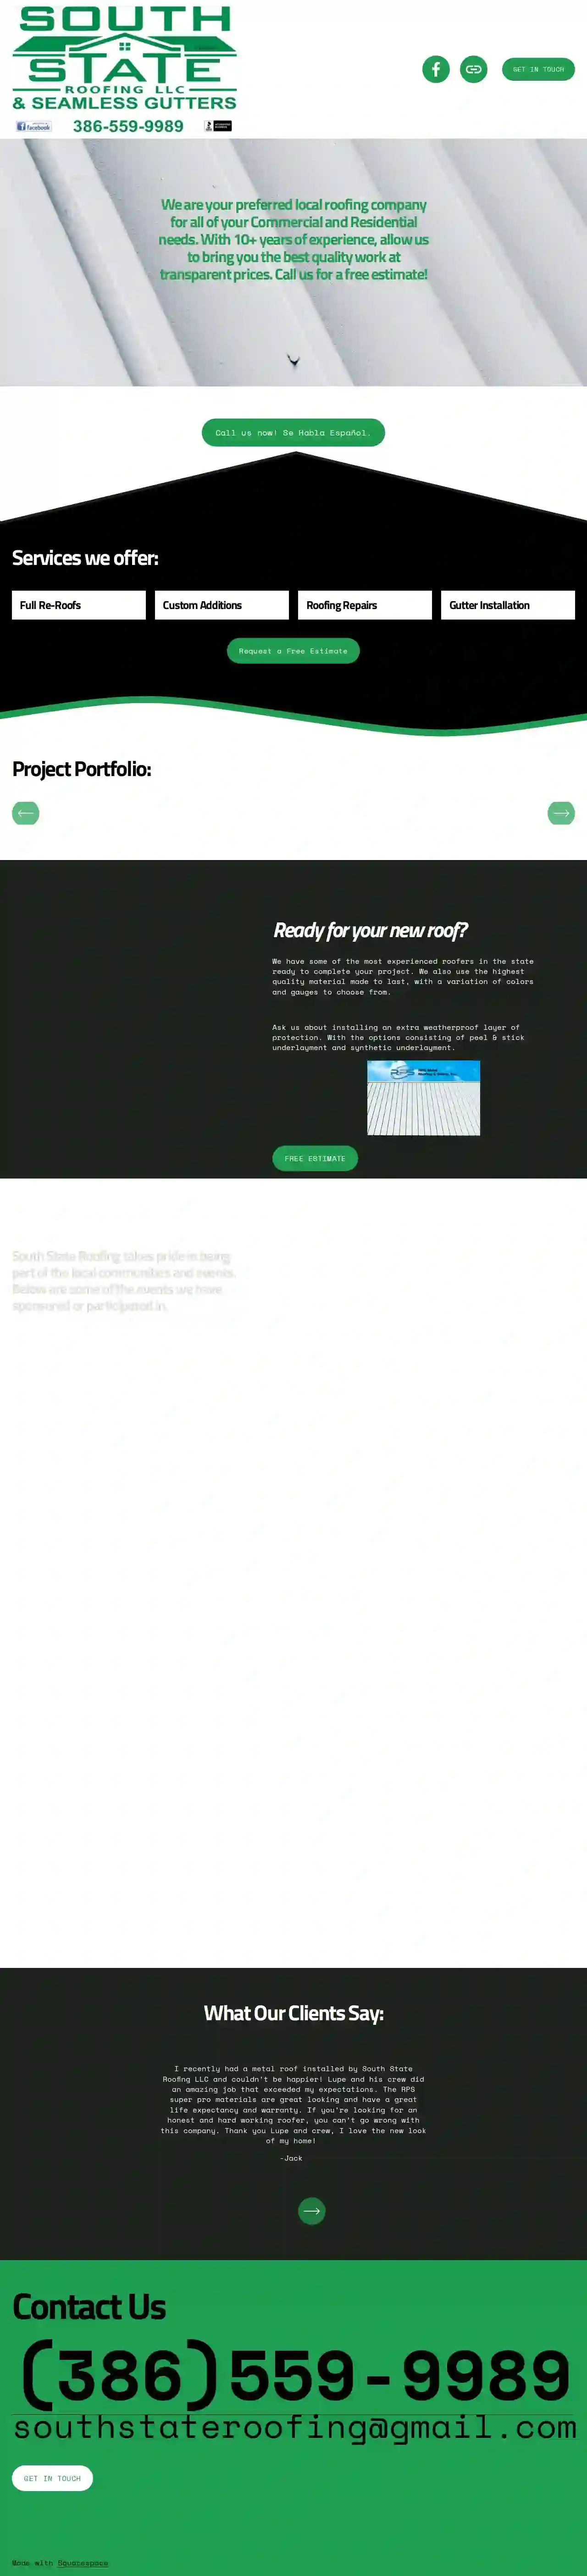
South State Roofing LLC
58 reviews1000 S. Dixie Hwy, Suite 100, Seville, 32133, USSouth State Roofing LLC is your preferred local roofing company serving both commercial and residential clients. With over 10 years of experience, we are dedicated to providing high-quality workmanship at transparent prices. We offer a range of services, including full re-roofs, custom additions, roofing repairs, and gutter installation. Our team of experienced roofers utilizes the highest quality materials, available in various colors and gauges, to ensure a durable and aesthetically pleasing roof. We also offer weatherproof protection options like peel & stick and synthetic underlayment. We take pride in being an active part of our local communities, sponsoring and participating in events like the Breast Cancer Awareness Walk, Veteran's Day Parade, and Christmas Parade.
- Services
- Why Us?
- Our Team
- Testimonials
- Gallery
Get Quote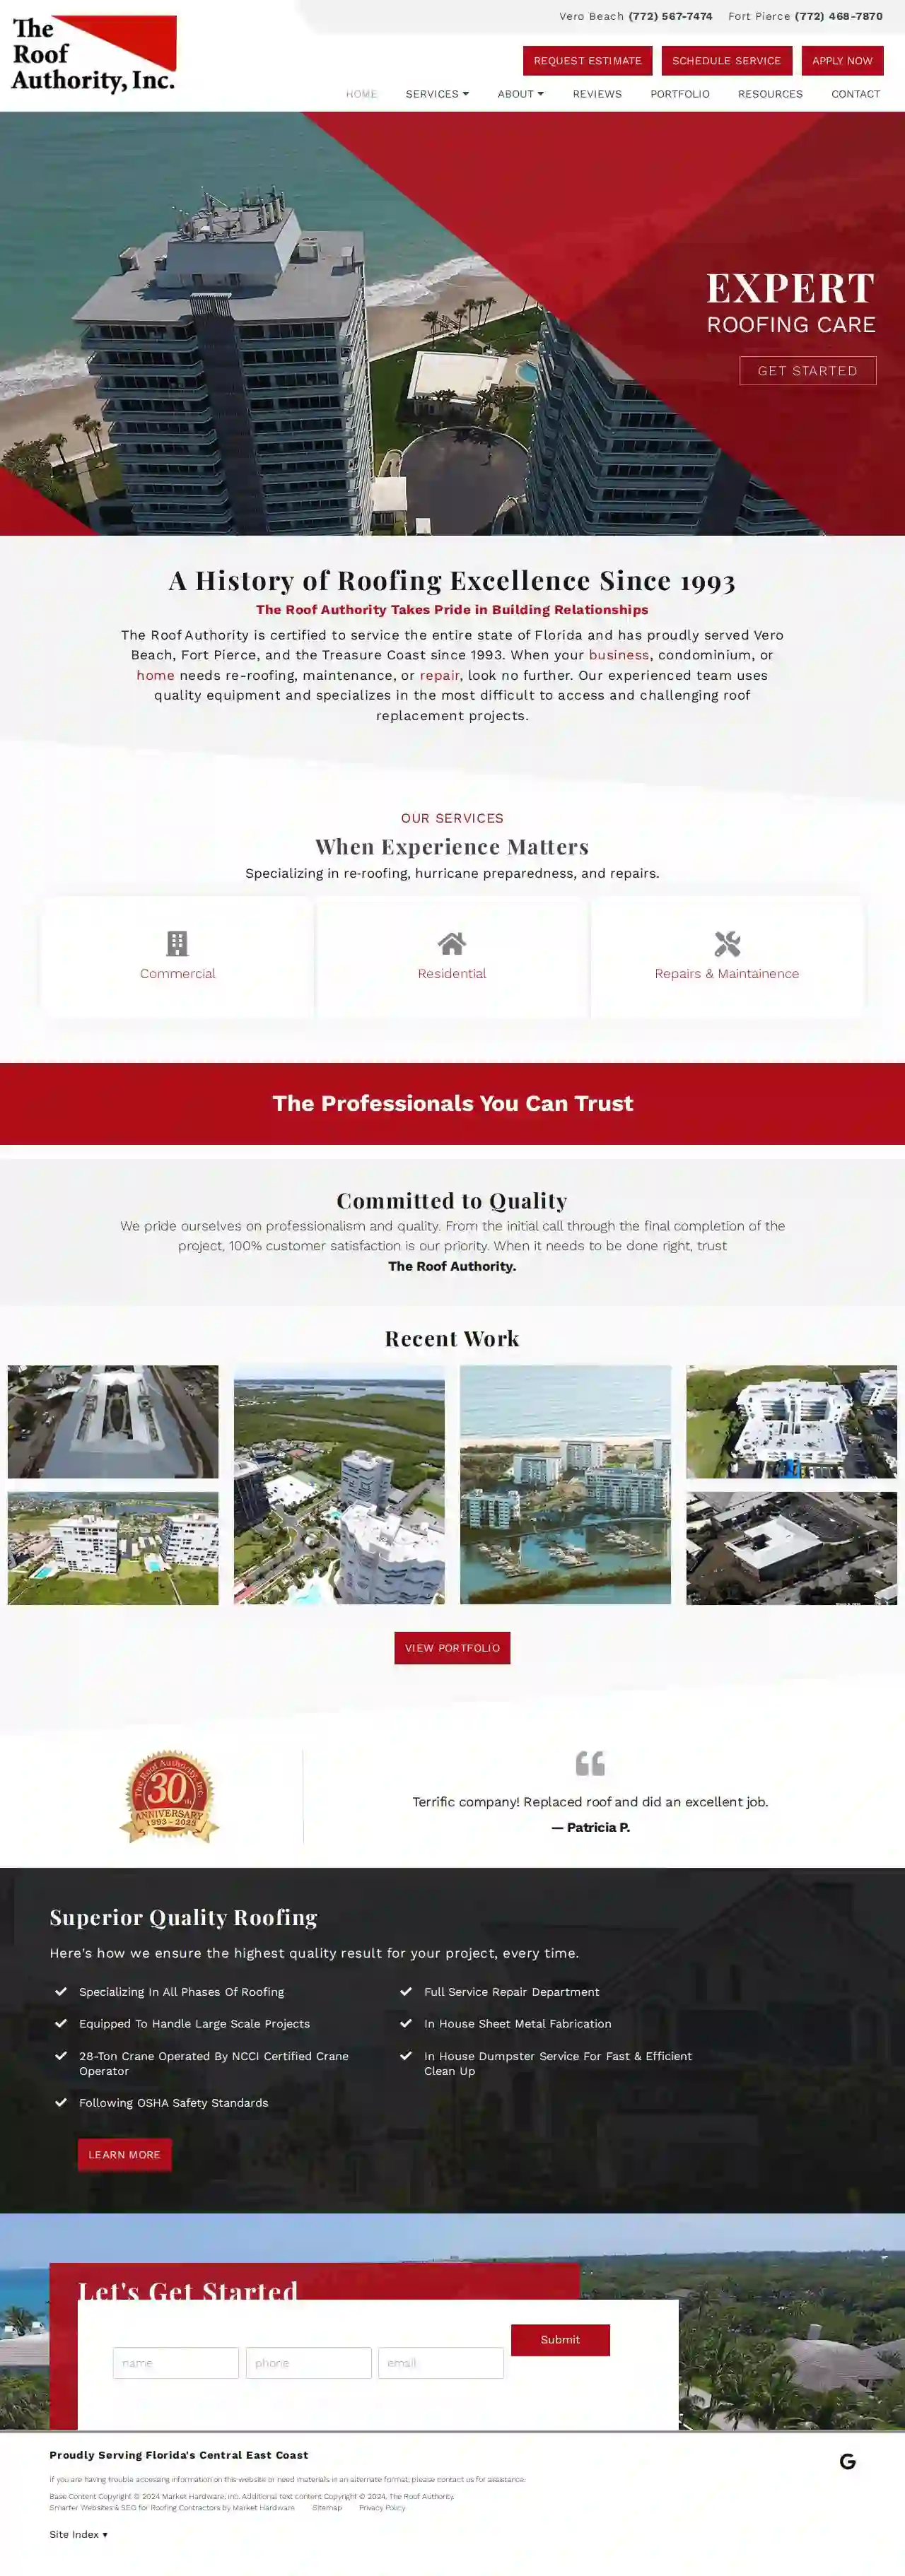
The Roof Authority, Inc.
4.546 reviews6771 North Old Dixie Hwy, Fort Pierce, 34946, USSince 1993, The Roof Authority has been a trusted name in roofing services throughout Florida's Central East Coast. We are a certified company serving Vero Beach, Fort Pierce, and the surrounding areas, specializing in re-roofing, hurricane preparedness, and repairs for both commercial and residential properties. Our experienced team utilizes quality equipment and expertise to handle even the most challenging roof replacement projects. We are committed to providing 100% customer satisfaction from the initial call to the final completion of your project. When you need roofing done right, trust The Roof Authority.
- Services
- Why Us?
- Accreditations
- Our Team
- Testimonials
- Gallery
Get Quote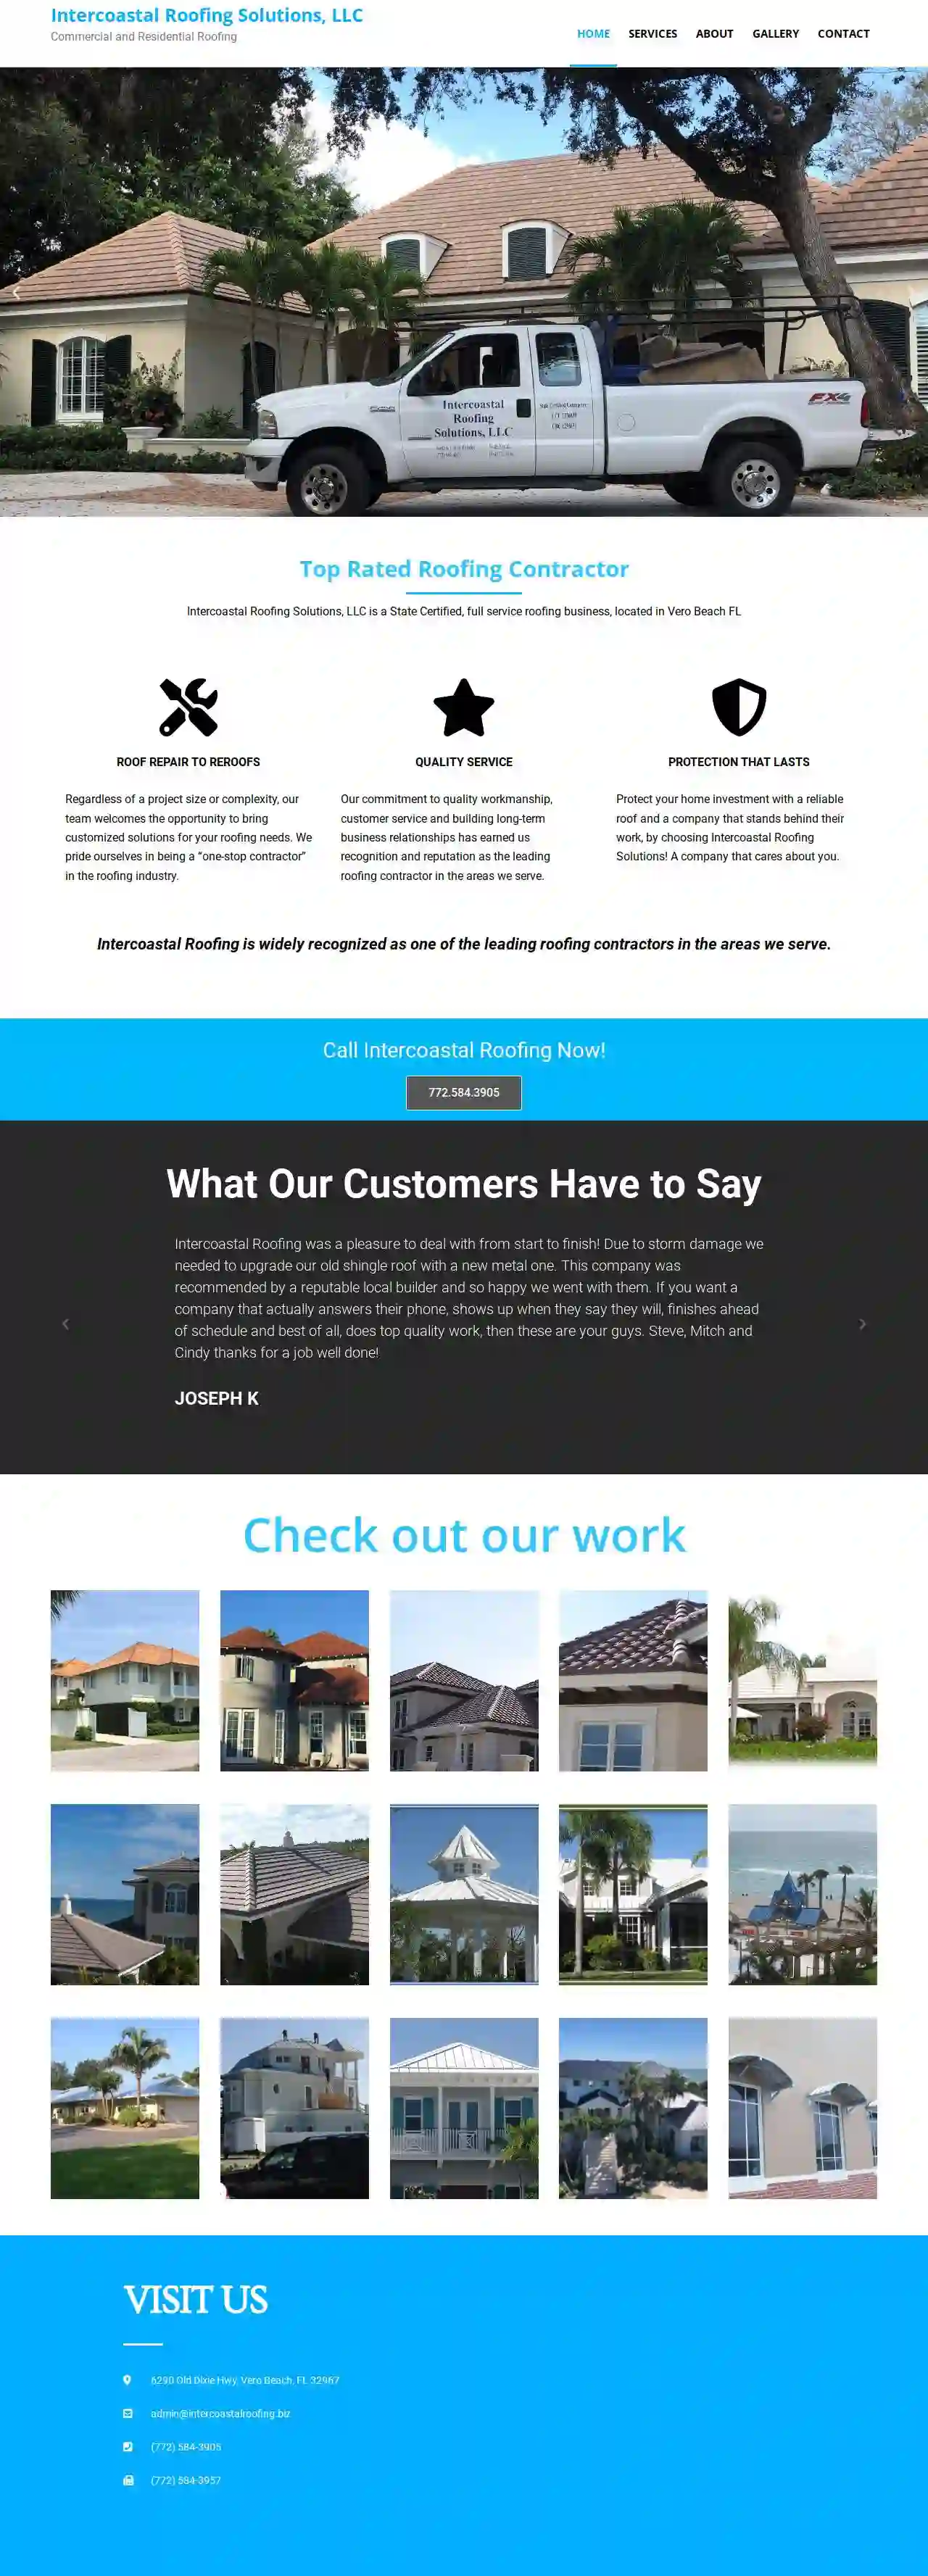
Intercoastal Roofing Solutions, LLC
4.511 reviewsLynn, US- Services
- Why Us?
Get Quote
Over 2,000+ Roofing Contractors on our directory
Our roofing pros operate in Lynn and surroundings!
Roofyng.com has curated and vetted the Best Roofers in Lynn. Find the most reliable business today.
Rubber Roof Installation FAQs
- Condition of the Existing Roof: The existing rubber roof should be in relatively good condition, with no significant damage or ponding water issues.
- Number of Layers: Most building codes allow only one layer of roof overlay. If your existing roof already has an overlay, a complete tear-off is usually required.
- Compatibility: Ensure the new EPDM membrane is compatible with the old one and that the adhesive will bond effectively to the existing surface.
- Local Building Codes: Check with your local building department to verify if roof overlays are permitted and if any specific requirements apply.
- Clean the Area: Clean the area around the tear with a mild detergent and water, ensuring it's completely dry before proceeding.
- Cut a Patch: Cut a patch of EPDM membrane material that is slightly larger than the tear, ensuring it overlaps the damaged area by at least 2 inches on all sides.
- Apply Adhesive: Apply a specialized EPDM adhesive to the underside of the patch and the roof surface around the tear, following the manufacturer's instructions.
- Position the Patch: Carefully position the patch over the tear, pressing it firmly into place to ensure good adhesion.
- Roll the Patch: Use a roller to press out any air bubbles and ensure a smooth, even bond between the patch and the roof surface.
- Apply Sealant: Apply a bead of sealant around the patch's edges to provide additional protection against leaks.
- Inspect and Test: Once the adhesive and sealant have cured, inspect the repaired area and perform a water test to ensure it's watertight.
Can I install a rubber roof myself?
Can you put a new rubber roof over an old one?
Are rubber roofs fire-resistant?
How do I repair a tear in my rubber roof?
Here's a general overview of the process:
Can I install a rubber roof myself?
Can you put a new rubber roof over an old one?
- Condition of the Existing Roof: The existing rubber roof should be in relatively good condition, with no significant damage or ponding water issues.
- Number of Layers: Most building codes allow only one layer of roof overlay. If your existing roof already has an overlay, a complete tear-off is usually required.
- Compatibility: Ensure the new EPDM membrane is compatible with the old one and that the adhesive will bond effectively to the existing surface.
- Local Building Codes: Check with your local building department to verify if roof overlays are permitted and if any specific requirements apply.
Are rubber roofs fire-resistant?
How do I repair a tear in my rubber roof?
Here's a general overview of the process:
- Clean the Area: Clean the area around the tear with a mild detergent and water, ensuring it's completely dry before proceeding.
- Cut a Patch: Cut a patch of EPDM membrane material that is slightly larger than the tear, ensuring it overlaps the damaged area by at least 2 inches on all sides.
- Apply Adhesive: Apply a specialized EPDM adhesive to the underside of the patch and the roof surface around the tear, following the manufacturer's instructions.
- Position the Patch: Carefully position the patch over the tear, pressing it firmly into place to ensure good adhesion.
- Roll the Patch: Use a roller to press out any air bubbles and ensure a smooth, even bond between the patch and the roof surface.
- Apply Sealant: Apply a bead of sealant around the patch's edges to provide additional protection against leaks.
- Inspect and Test: Once the adhesive and sealant have cured, inspect the repaired area and perform a water test to ensure it's watertight.